Codux Help Center
Browse our articles to find the answers you need
Creating Board Templates
Boards often require a rendering environment that serves as a context for components, providing the necessary wrappers for data providers, routers, and styles that are external to the component itself. This environment ensures that all components can be visually edited and interacted with as intended. Codux empowers users to create custom templates for their projects, which serve as a foundation for new boards. These board templates are designed to include all the essential elements a user might need, ensuring consistency and adherence to design intentions.
For instance, when crafting a page component, Codux allows it to be seamlessly integrated within the broader application framework. This means that even though the header and footer are not part of the component itself, they can be included in the template. As a result, when a user creates a new board, it will automatically encompass the application's header and footer, providing a complete and functional page right from the start.
Creating templates for boards is similar to creating templates for components – Codux will create new board files based off of a template using the template's board code.
Note:
Codux comes with a board template built in, which you'll see if you don't create any templates of your own. Boards created using this template will contain only a single div inside.
newBoard
- Description: Provides additional configuration for new boards.
- Type: Object {}
- Properties:
templatesPath(string)
How to add to codux.config.json
Property: templatesPath
The
templatesPath property is a string, and sets the relative path to the board templates folder.Here's an example for reference:
1 2 3 4 5 6{ "$schema": "https://wixplosives.github.io/codux-config-schema/codux.config.schema.json", "newBoard": { "templatesPath": "src/board-templates" } }
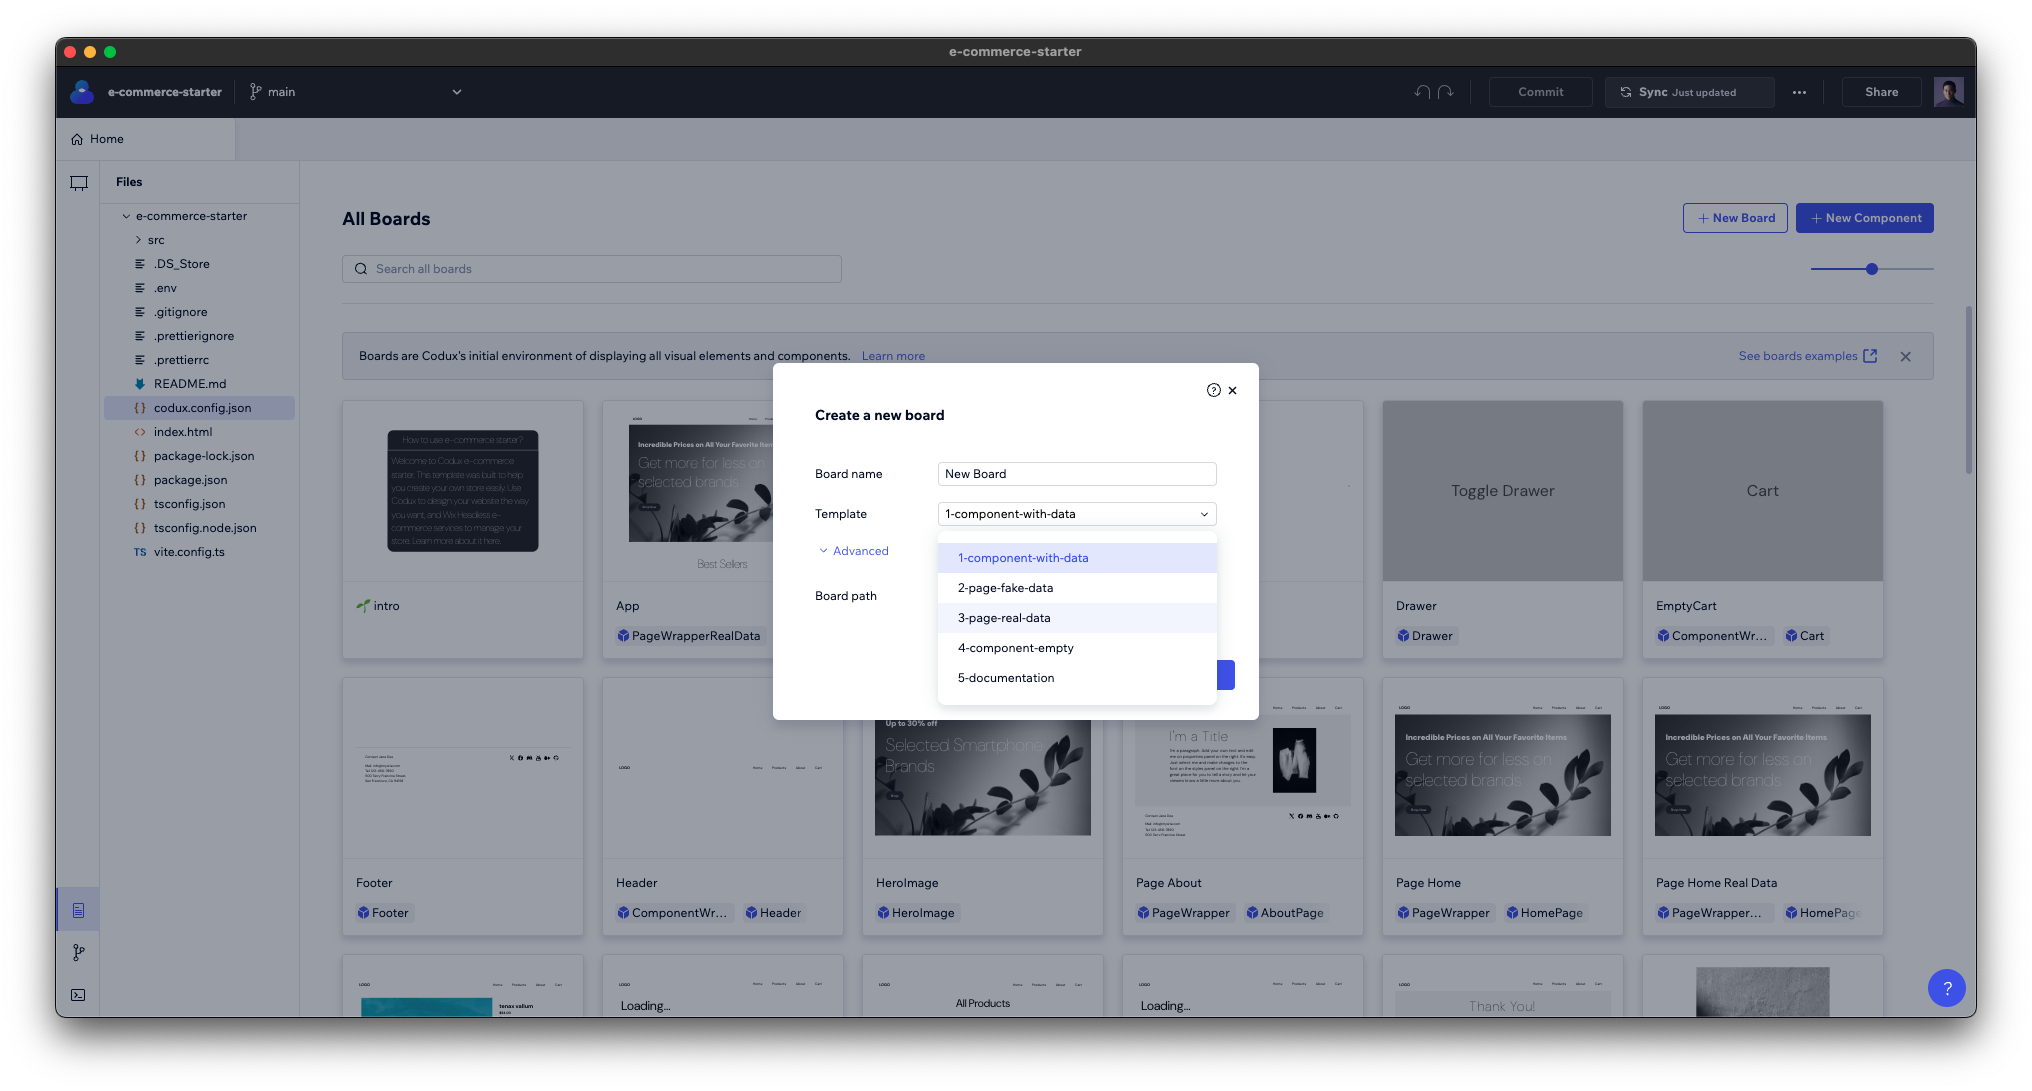
Board templates show up to users when they create a new board in the UI.

Board Template File Naming and Folder Structure
A board template can consist of either a single file or multiple files. For single-file templates, you can store them directly in the templates path. If your template has multiple files, organize them within a subdirectory. With multi-file templates, follow one of these three naming conventions for the template file:
new-board.board.tsx(kebab-case)NewBoard.board.tsx(pascal-case)newComponent.board.tsx(camel-case)
The template name that shows in Codux will be based on either the folder name (for multi-file templates) or the single-file template file name.
Here's an example of a project directory structure with three board templates:
├── src
│ ├── boards
│ ├── board-templates
│ │ ├── Template1
│ │ │ ├── new-board.css
│ │ │ ├── new-board.board.tsx
│ │ ├── Template2.board.tsx
│ │ ├── other-template
│ │ │ ├── new-board.board.tsx
Using a Board Template for New Components
In the context of a board template file, the
ContentSlot wrapper serves as a placeholder. This is where new components are inserted when they are created using a board template.Important!
Only board templates that include a
ContentSlot wrapper will be available as an option in the create new component dialog.ContentSlot doesn't replace the component, but rather, wraps it. This wrapping functionality allows it to mark the starting point of the component and identify where 'wrappers' such as contexts and data providers are located. It also enables the use of the component in the Add Elements panel without the need for context providers or any other external data that might be required for the board.Here's an example of how to use
ContentSlot in a template:1 2 3 4 5 6import { ContentSlot, createBoard } from '@wixc3/react-board'; export default createBoard({ name: 'New Board', Board: () => <ContentSlot />, isSnippet: false, });
Important!
Codux requires the
name property of the template to read "New Board". Make sure to copy name: 'New Board' in the example above as is.When a project user creates a new component using this board template, the new component will be inserted at the location of the wrapper like this:
1 2 3 4 5 6 7import { TestComponent } from '../../../components/test-component/test-component'; import { ContentSlot, createBoard } from '@wixc3/react-board'; export default createBoard({ name: 'TestComponent', Board: () => <ContentSlot ><TestComponent /></ContentSlot>, isSnippet: false, });
Tip!
To get your added components to center on stage, use a board template where the component is centered. For example:
1// hello.board.tsx
1 2 3import { createBoard, ContentSlot } from '@wixc3/react-board'; import { Hello } from './hello'; import style from '../utils.css';
1 2 3 4 5 6 7 8 9 10createBoard({ name: 'hello board', board: () => ( <div className = {style.center}> <ContentSlot> <Hello name="World" />, </ContentSlot> </div> ) });
Property: templatesConfig (string, optional)
The
templatesConfig property allows you to specify different paths for the board files generated from each template. By setting a unique path for each template type, you can organize your board structure more effectively.In this example, the
"5-documentation" template's files will be saved in the "src/boards/documentation" directory, the "1-board-with-data" and "4-board-empty" templates' files will be saved in the "src/boards/empty" directory, etc.1 2 3 4 5 6 7 8 9 10 11 12 13 14 15 16{ "$schema": "https://wixplosives.github.io/codux-config-schema/codux.config.schema.json", "newBoard": { "templatesPath": "src/board-templates", "templatesConfig": { "documentation": { "path": "src/boards/documentation" }, "board-with-data": { "path": "src/boards/with-data" }, "page": { "path": "src/boards/pages/" } } }}
With this configuration, when you create a new board using a template, the generated files are stored in the appropriate location within the project's directory structure, maintaining a clean and organized workspace.
Was this article helpful?