Codux Help Center
Browse our articles to find the answers you need
Opening Codux for the First Time
When you first open Codux, you'll be faced with the Codux login screen.
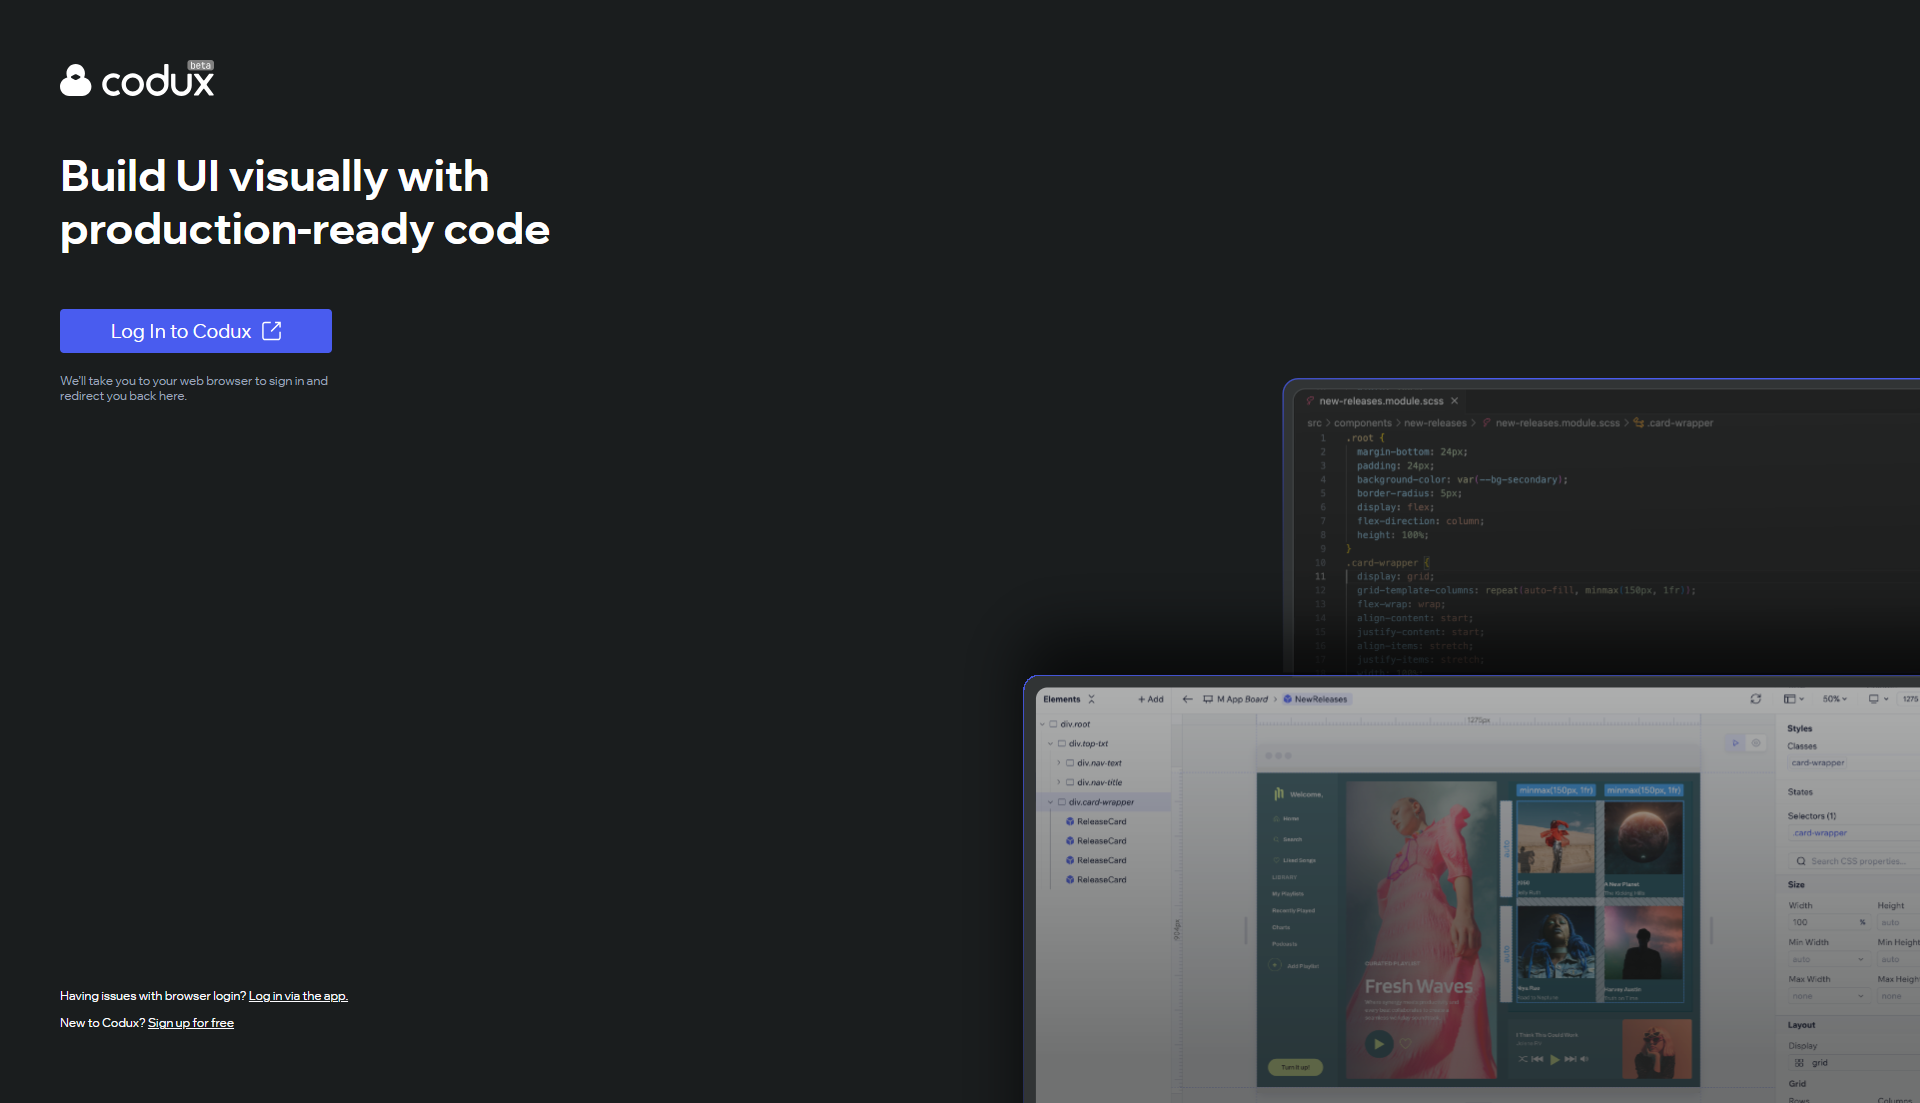
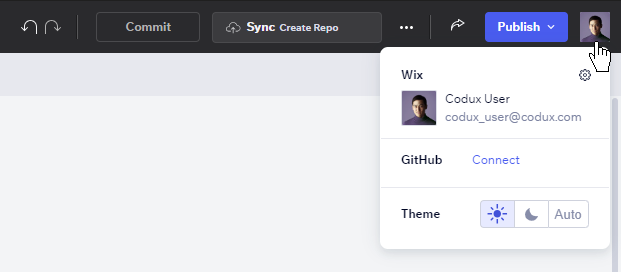
If you're new to Codux, click the signup option at the bottom left of the screen. Otherwise, click the login button and follow the prompts. Once logged in, you'll find user options in the account menu at the top right, where you can also connect your GitHub account and switch between light and dark themes for Codux.
Prerequisites for Codux
As soon as Codux starts up (after logging in), it checks that your computer has the tools you need to start working and collaborating on projects (needed for most software development projects, and not just for Codux). If anything is missing, Codux will show you exactly what to do like this:
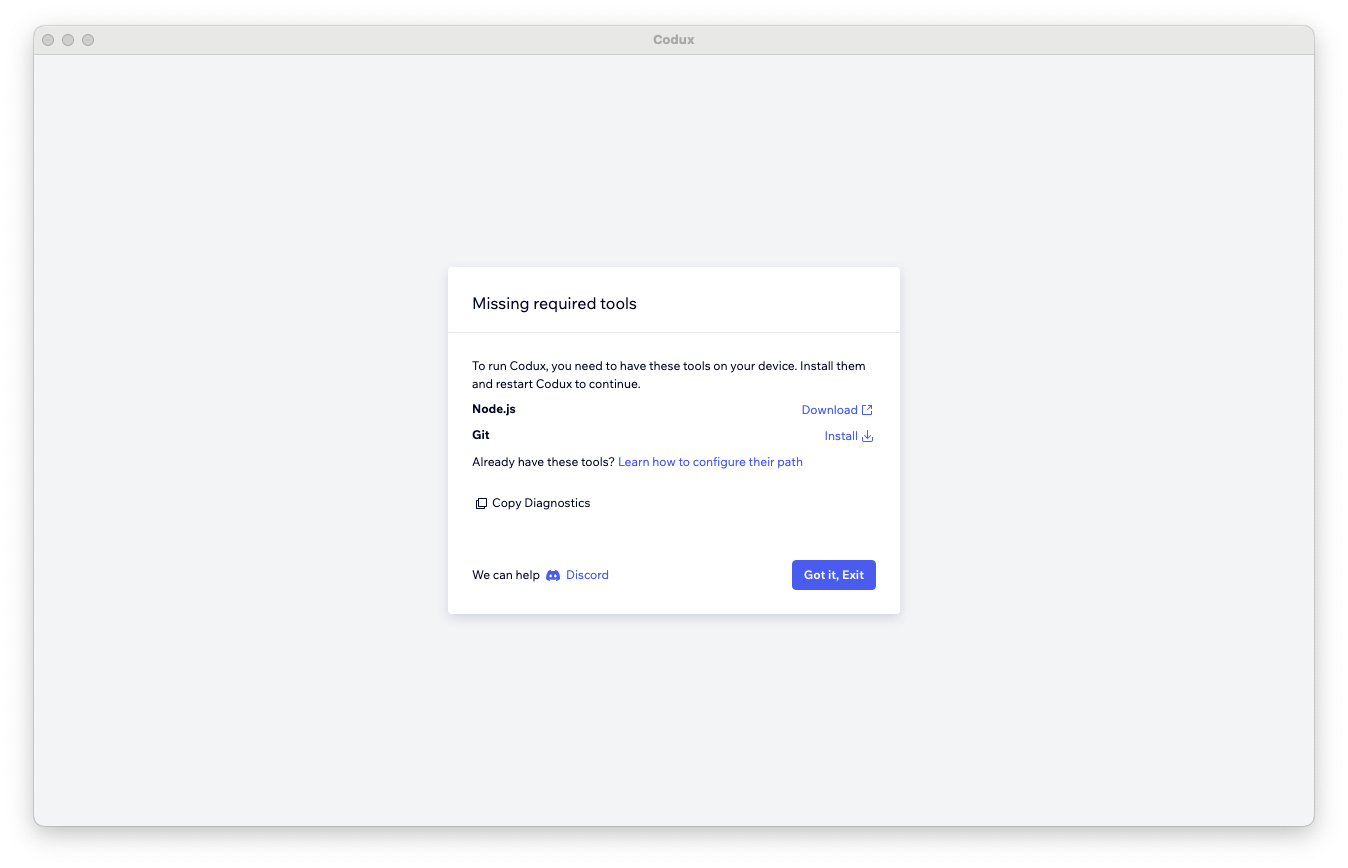
Note:
This screen does not show up in Linux operating systems. If you're using Codux on Linux, you may need to investigate missing prerequisites through the command line.
Node.js
Node.js is widely used for creating web applications and React projects. It is not specific to Codux, but is a popular choice for many software development projects (including Codux!). To get Node.js, you can download it from the official Node.js website.
Git for Windows / Linux
Git is a version control system that allows you to track changes made to your project over time. Git stores every change made as a snapshot, which is great because creating a project is an iterative process (and mistakes can happen!). You can roll back to previous versions of a project with Git if something goes wrong, or if you want to revisit a specific state of the project. Git is also used for collaborating with other team members. You can download Git from the official Git website.
Git for Mac
If you're using a Mac and Git is not detected when Codux starts (even if you installed it already), you can install it using the Mac installer for Command Line Developer Tools.
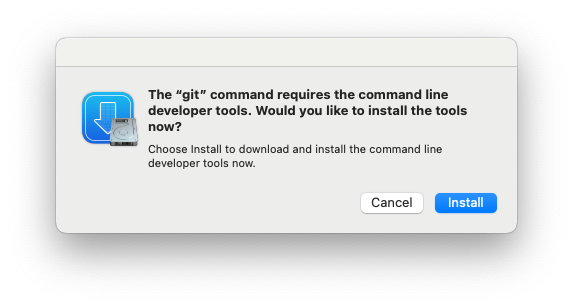
When it finishes its work, exit Codux and reopen. To manually install Git, as well as for a complete walkthrough of Codux setup on macOS systems from start to finish, check out our video here.
Important!
If you've installed all the prerequisites, reopened Codux, and you still see a message indicating that something is missing, click the 'Copy Diagnostics' button. Then, if you need assistance diagnosing any issues, feel free to send us the contents of your clipboard - we'll be happy to assist you! You can find us on Discord here. Alternatively, if you know that you have Git and Node.js installed and want to help Codux find their installations, configure their paths as described here.
Open or Create a Project
After you log in and Codux verifies that you have all required tools, you'll be taken to the New Project screen where you can create a new project using one of our blank or quick-start templates featuring various technologies.
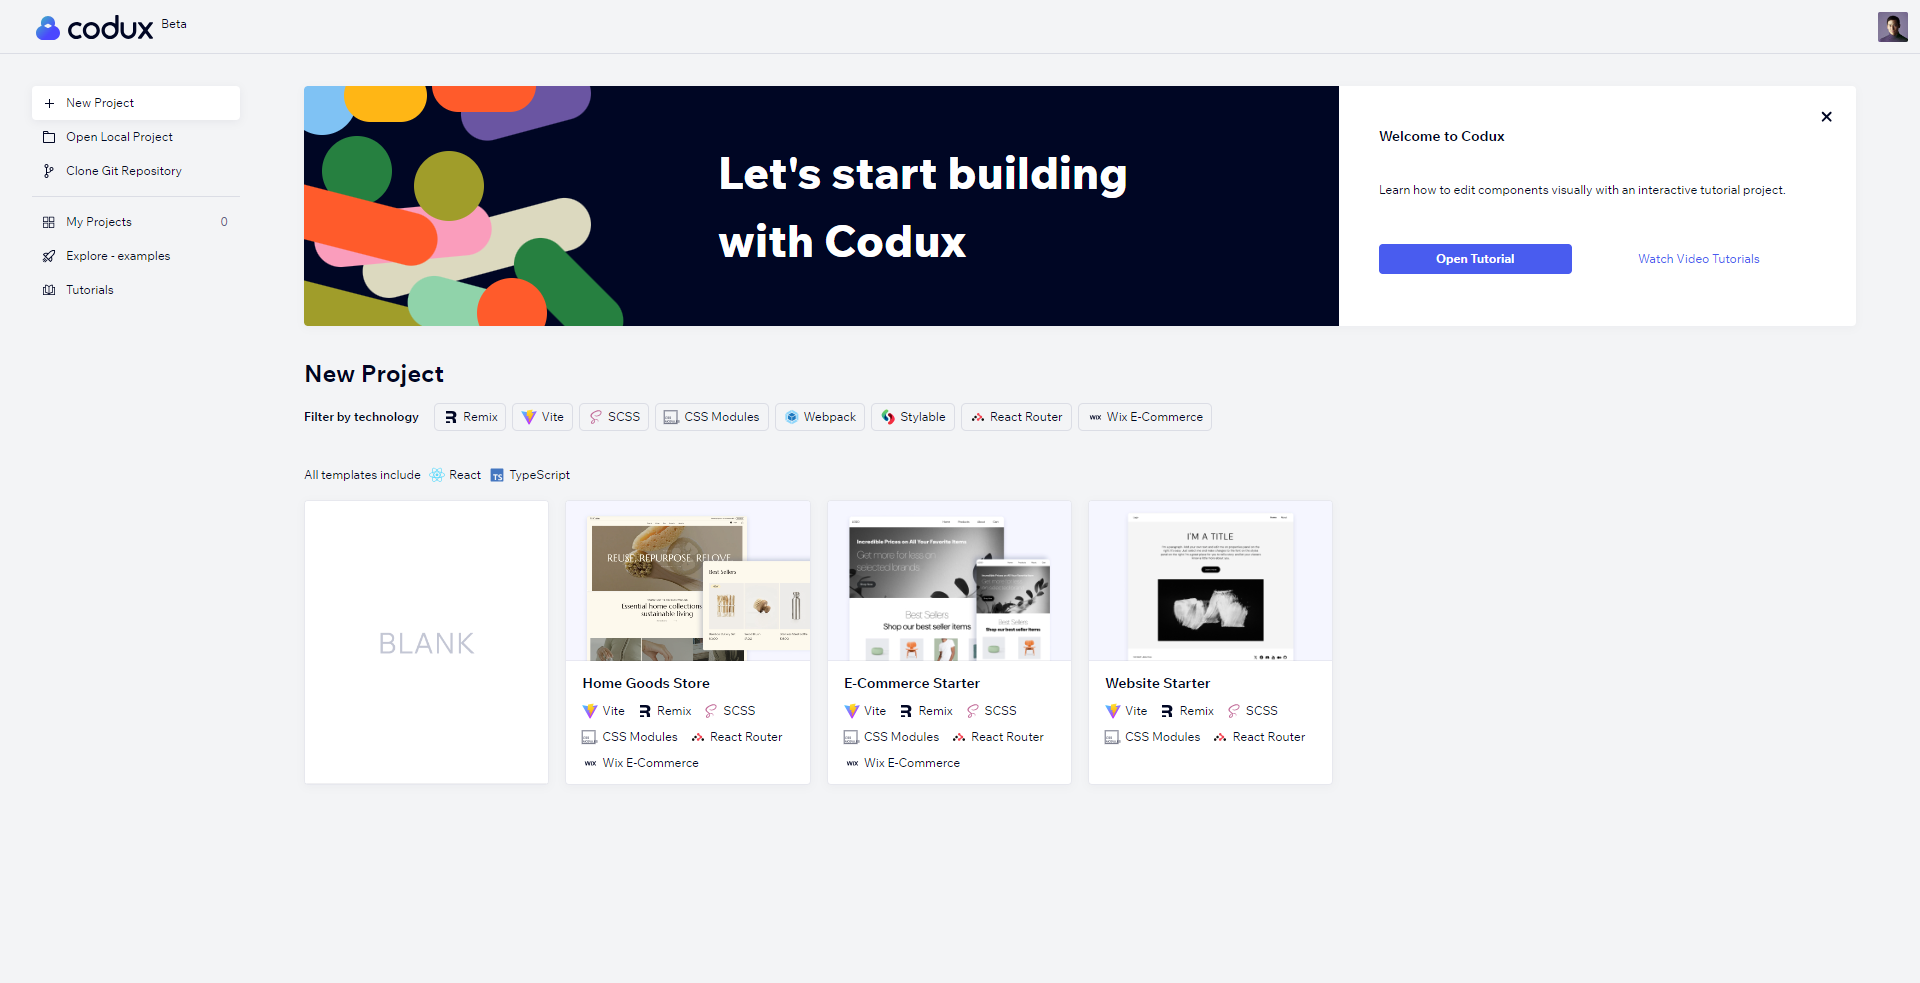
You can also open a local project, clone a Git repository, open an existing project (if this isn't the first time opening Codux), explore examples, and view our tutorial project and video tutorials.
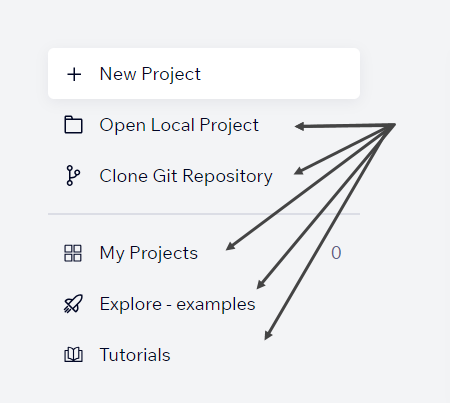
Run Scripts
When you first open a project in Codux, you'll see a dialog like this:
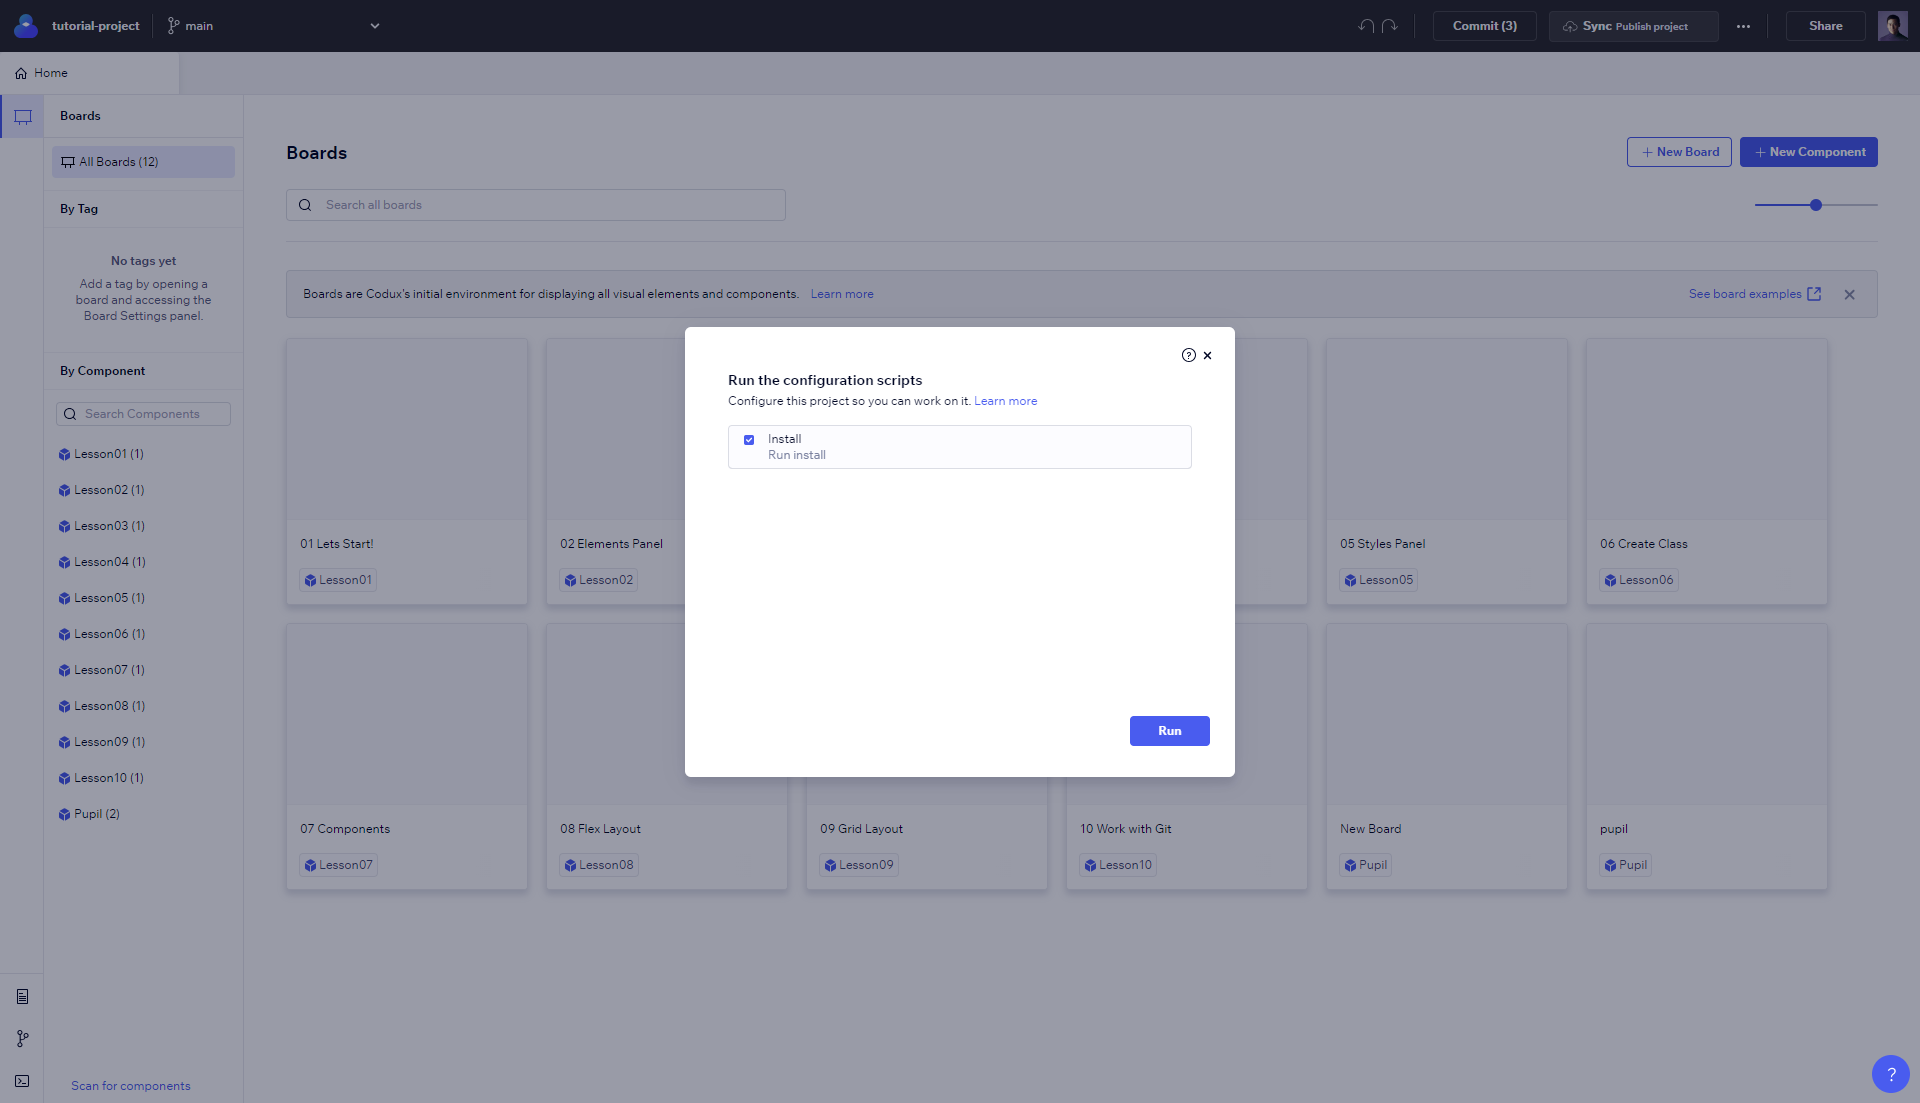
Running scripts (pre-written sets of commands) might seem scary at first glance, but they're actually quite easy to run, and take care of a lot of things in your project. In this case, when opening or creating a new project, the command shown above adds all the pieces of code that you need to see the project. For more information on project scripts and what they're for, refer here.
Take a Tour of Codux
When you open your first project in Codux, you'll see an offer to take a tour of the editor. This tour will give you an overview of the Elements panel, Properties panel, Computed Styles panel, Styles panel, Code drawer, and Git sync button.
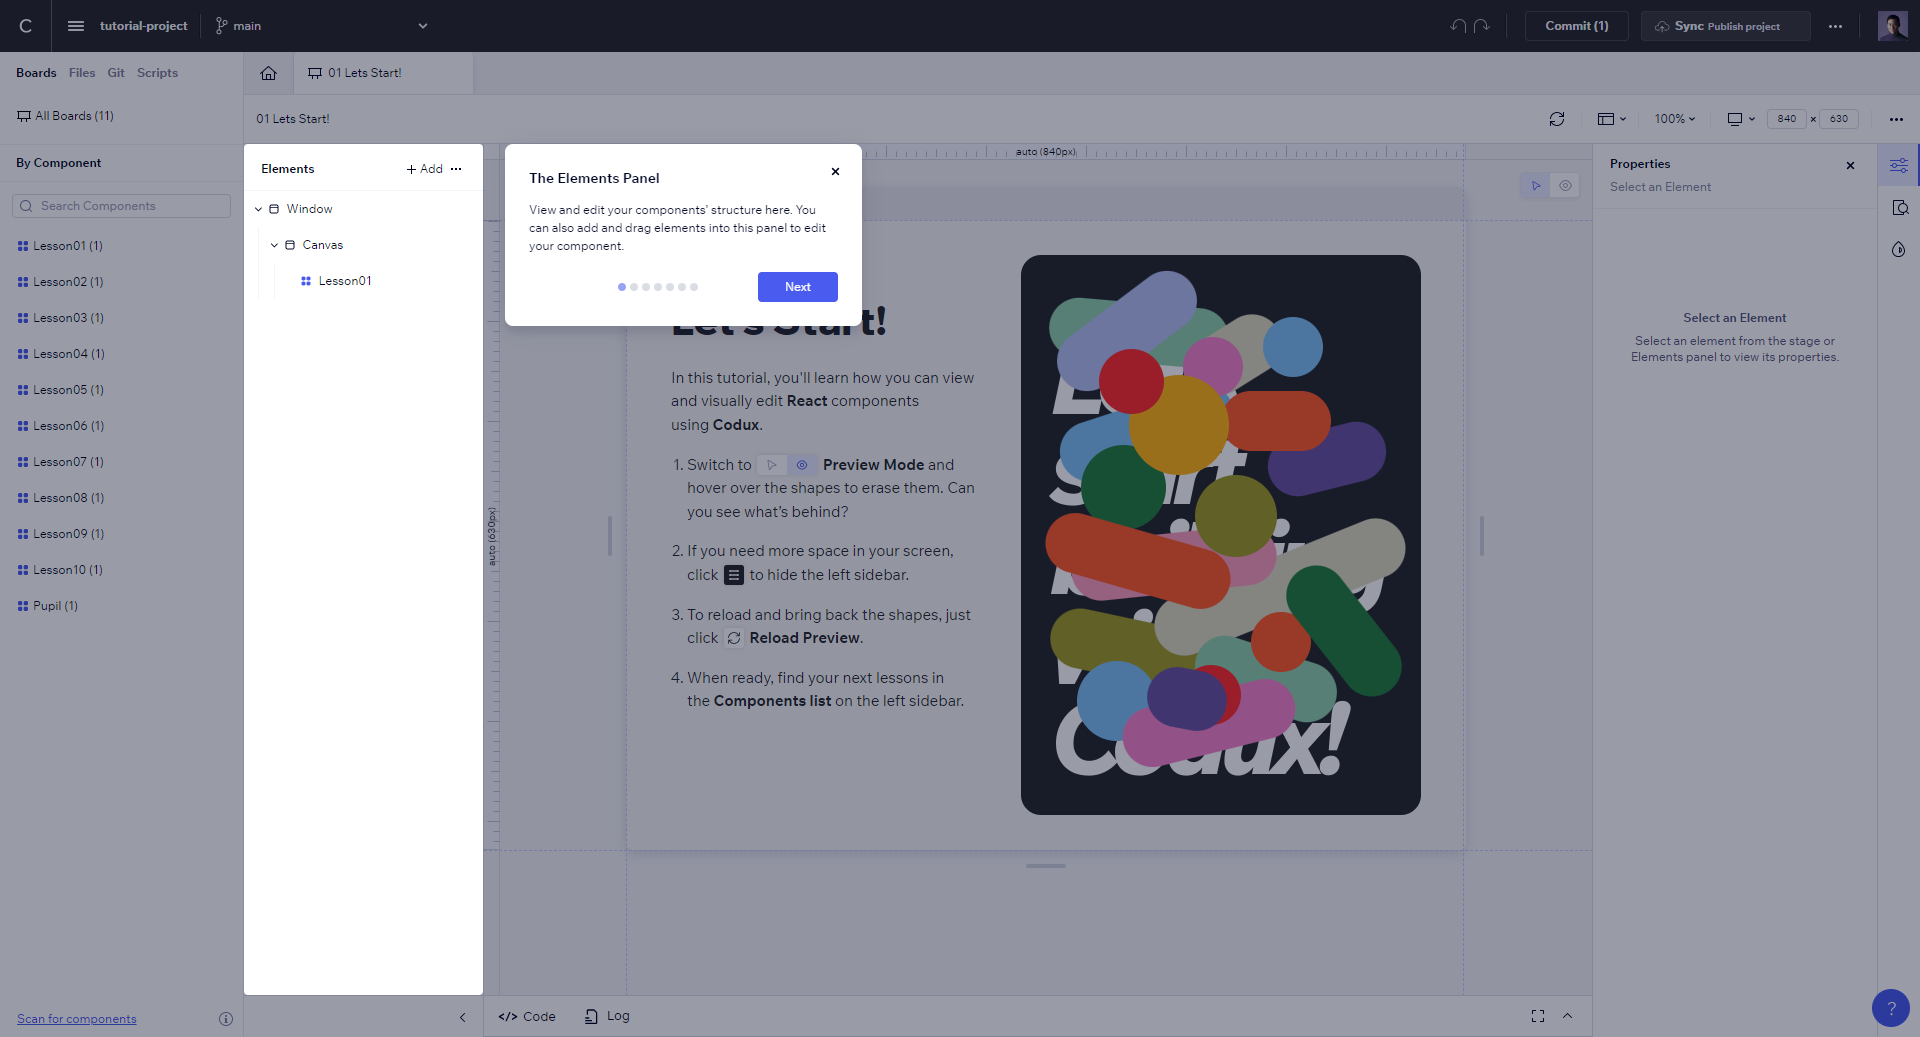
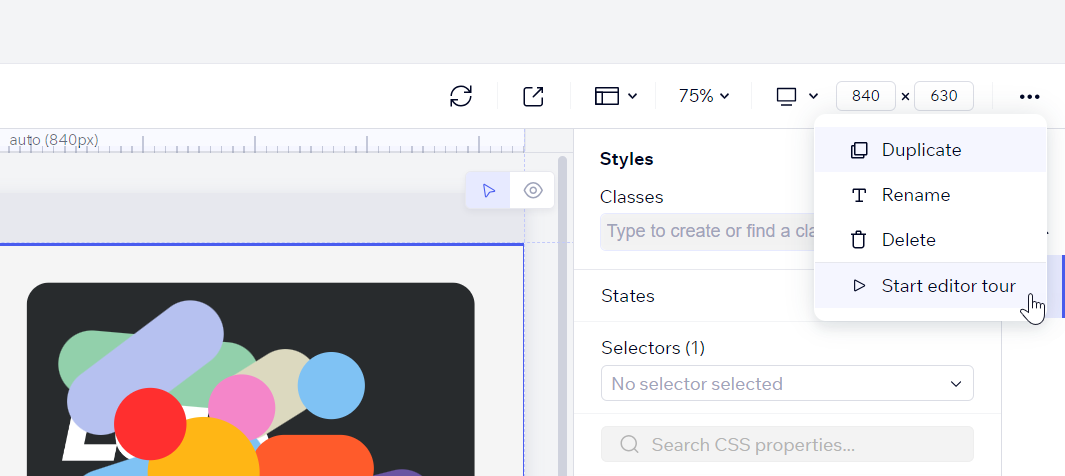
To restart the tour at any time, select the option from the menu at the top right of the screen while viewing a board on stage.
Was this article helpful?