Codux Help Center
Browse our articles to find the answers you need
Working with the Blueprint Component Library
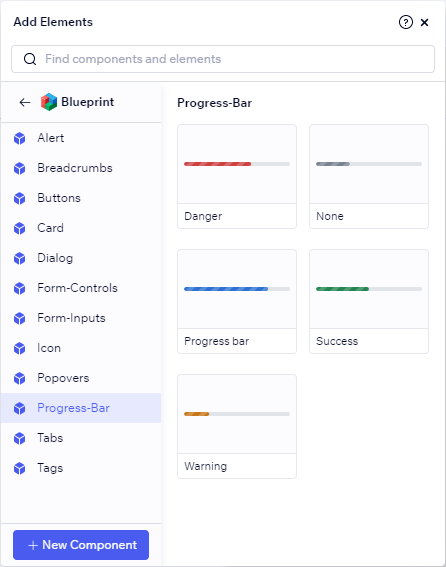
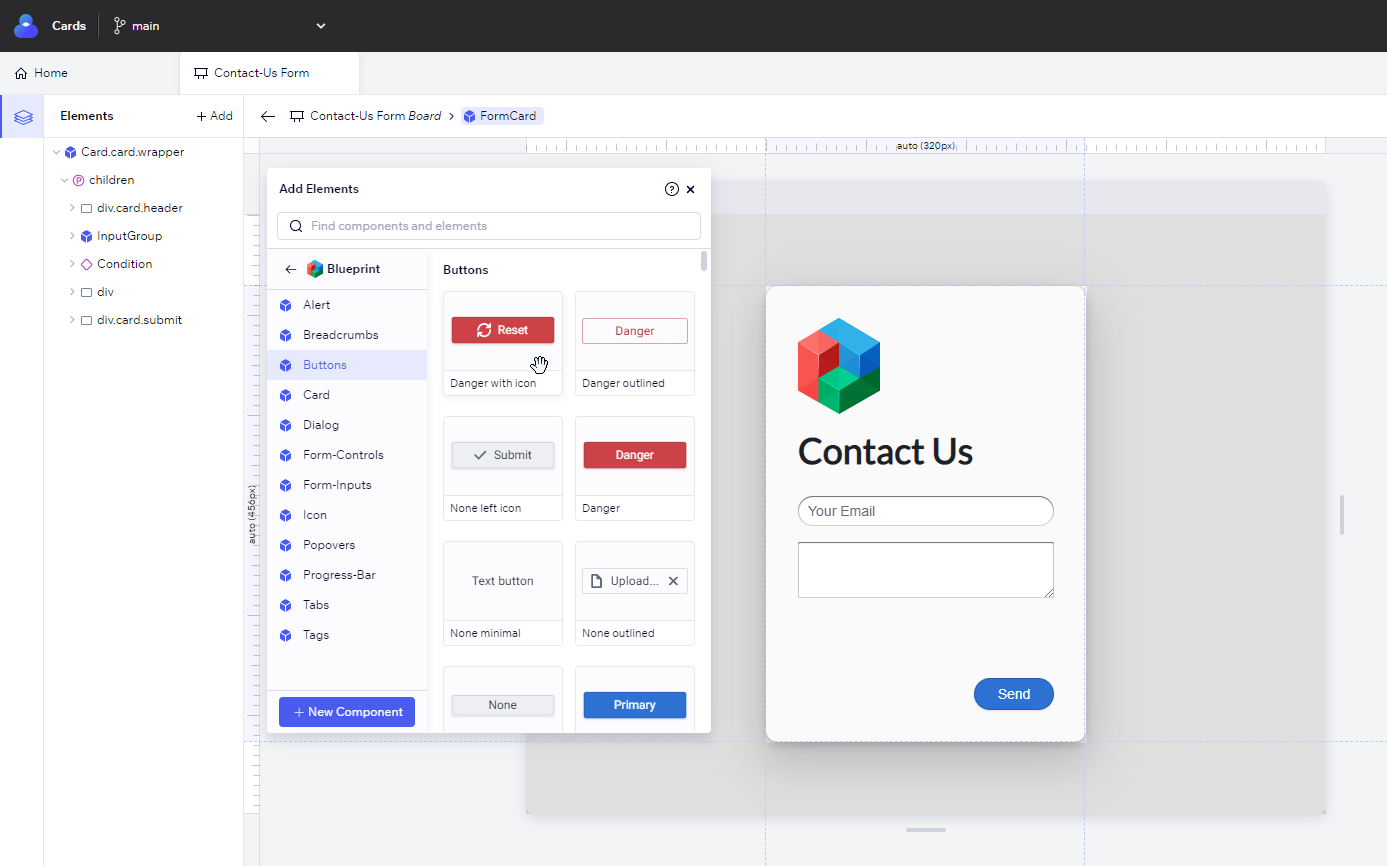
The Add Elements panel can be a source of high-quality content for your project, where components in your code join rich, pre-made components made by the Codux team. Our rich content components from the Blueprint library come in different permutations to represent different behaviors and usages for them, giving you a range of options to choose from when dropping components to the stage, or adding them to the Elements panel.

To use our library of rich Blueprint content through the Add Elements panel, follow one of these options:
- Start from a demo project with support for the library.
- Add rich content to an existing project.
Start with a demo project
If you started your project using a demo project, you'll not only have immediate support for the library, but you'll also find rich content waiting for you in the Add Elements panel.

Just drag and drop components from the Add Elements panel to the Elements panel (or click) to use them in your project.
Tip!
You can also customize the component properties and events using the Properties panel.
Add rich content to an existing project
If you have an existing project, you can see rich content for the library in the Add Elements panel by following these steps:
- Install the external library and its dependencies (
npm i @blueprintjs/core @blueprintjs/icons). - Install the Codux rich content npm package (
@codux-boards/react-blueprint). - Add the library name to
codux.config.json(addPanel/assetskey). - Import all library CSS files in your
boards-global-setup.tsfile (if necessary).
1. Install the library's dependencies
You need to install the external library and its dependencies before you can use it with the following command:
1npm i @blueprintjs/core @blueprintjs/icons
Refer to the library's documentation for specific instructions.
2. Install the rich content npm package
Install the Codux rich content npm package to see this library:
1npm i @codux-boards/react-blueprint
3. Add the library name to codux.config.json
Add the rich content library installed in the step above to your project's
codux.config.json file through the addPanel/assets key like this:1 2 3 4 5 6 7 8// codux.config.json { … "addPanel": { "assets": ["@codux-boards/react-blueprint"] }, … }
4. Import the library's CSS file
Some libraries (like this one) depend on stylesheets to use their components, and therefor you need to import the sheet globally using
boards-global-setup.ts. For the Blueprint component library, you'd import it like this:1 2 3// boards-global-setup.ts import '@blueprintjs/core/lib/css/blueprint.css'; import '@blueprintjs/icons/lib/css/blueprint-icons.css';
Use
boards-global-setup.ts to import your library's stylesheets as per your needs.Now it’s time to reopen the project.
Was this article helpful?