Codux Help Center
Browse our articles to find the answers you need
Creating and Switching Branches
A common best practice in the Git development world is to first create a branch before starting to work on a task. A branch is essentially a snapshot of project files from which changes can be made according to the task. Files can be modified, removed, added, and so on, with no impact to the shared main branch or the work of others.
With branches, users are also able to work in parallel. Everyone can complete their tasks in their own branches, and then using the tools that Git provides to safely move their changes from a drafted state to a shared branch (following a "pull request", as described below).
Codux makes using branches easy. You'll find access to the most common tasks along the top of the UI, including the ability to switch between branches, and to sync the latest changes. Syncing is something you'll want to do regularly so that you're always looking at, and sharing, the most recent versions of your app).

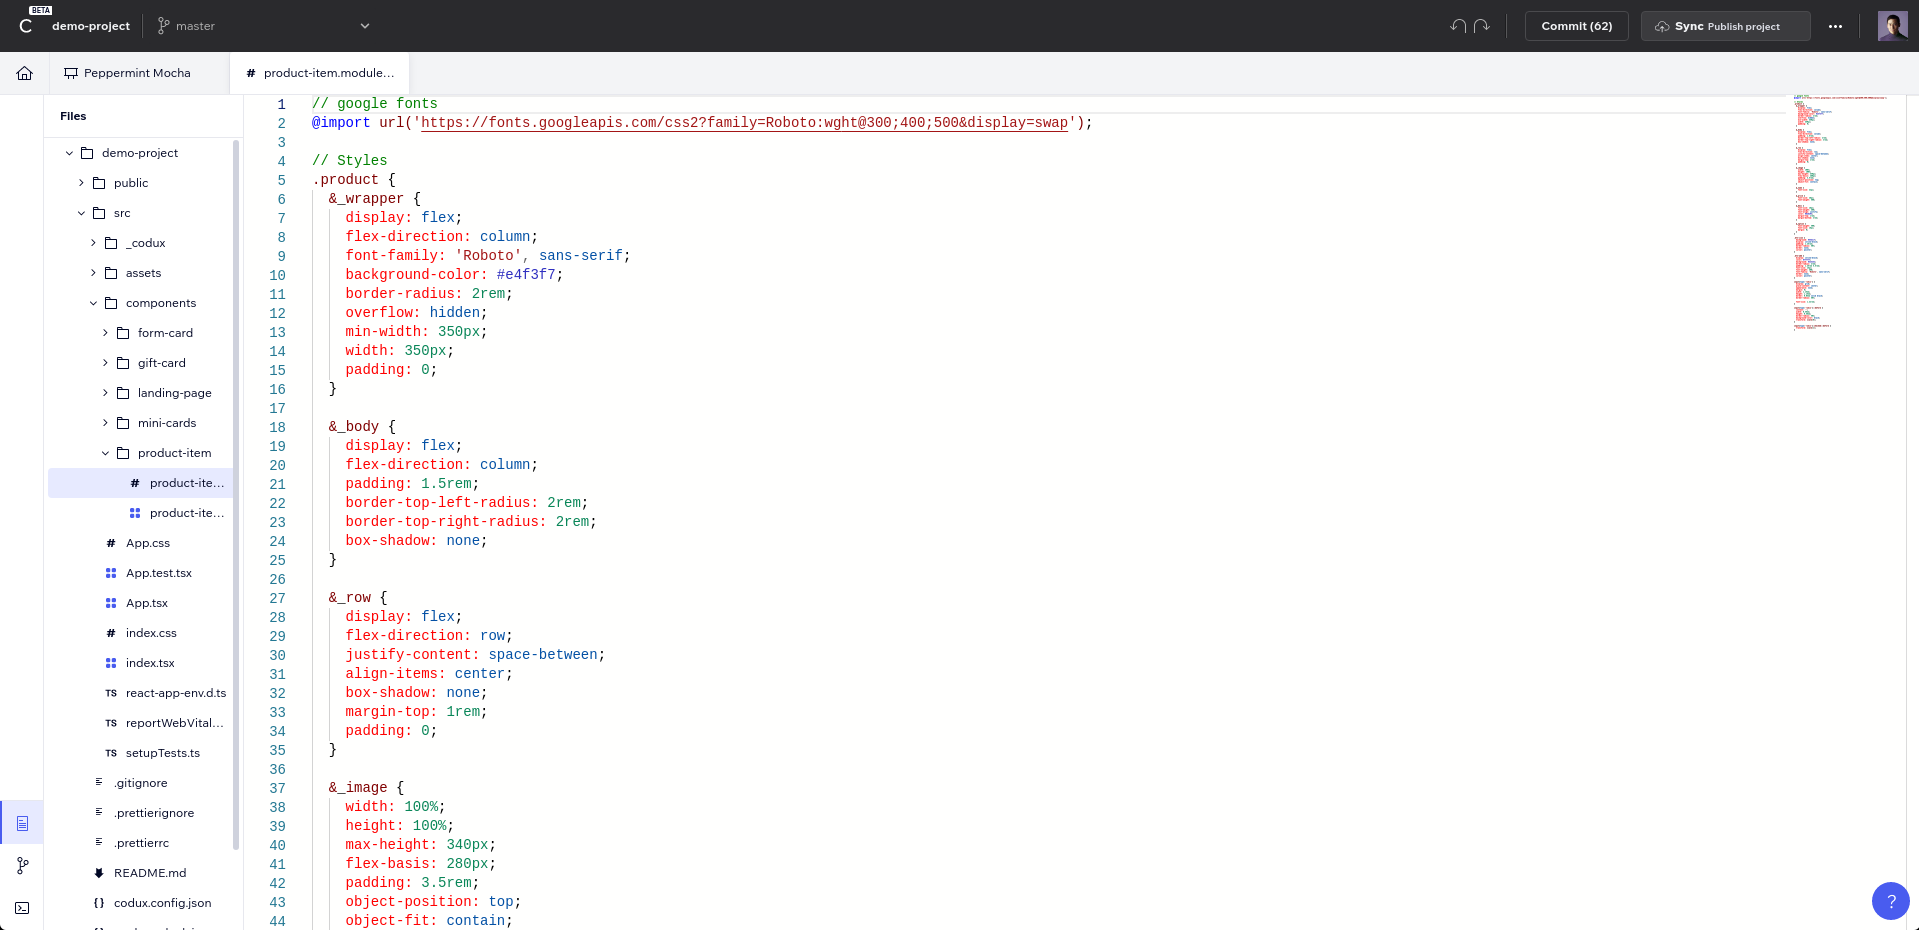
Along the top of Codux from left to right, you'll see the following:
- The name of the project.
- A branch-selection menu.
- A button for committing the latest changes to the branch (more on this later).
- The Codux Sync button.
- A menu with additional shortcuts.
Change or Create a Branch
After Codux has cloned your project for the first time, you'll be on the origin branch by default (most likely called "master" or "main"). Choose from any of the branches in your GitHub repository to switch to it (assuming you don't have any changed files to commit — more on this later). You can also select New Branch to create your own (which will be based on the currently-selected branch).
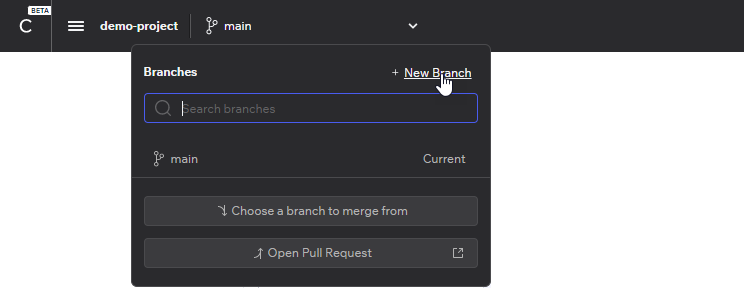
For example, if the current branch is called "main", the new branch will be based on it, as is indicated in the example below. After you've created a branch, this will be the working branch that you're on.

A note on branch names
When giving a branch a name, you'll need to adhere to certain Git naming conventions. You can only use Latin letters, and you'll have to use dashes and slashes as separators instead of spaces. Here's an example of a valid branch name:
codux/example-branch-nameNote:
There are a couple of other things to keep in mind. Branches can't begin with a dash (-), a dot (.) or contain two consecutive dots (..). They also can't begin with a slash (/) or contain a backslash (\). Furthermore, they can't end with .lock, contain ASCII control characters, spaces, tildes (~), carets (^), colons (:), question marks (?), asterisks (*), open brackets ([), or contain the sequence @{.
A note on file changes
Git works such that the files on your computer in the project folder are always a direct reflection of the branch you are on. This means that if a file exists in one branch but not in another, the file will appear and disappear in the project folder on your computer as you switch between the two branches. You can see the files in the current branch in the Files area of the left panel.
Note:
You won't be able to switch branches if you have changed files to commit. See here for information on committing or reverting changed files.
Was this article helpful?