Codux Help Center
Browse our articles to find the answers you need
Working with the Nivo Component Library
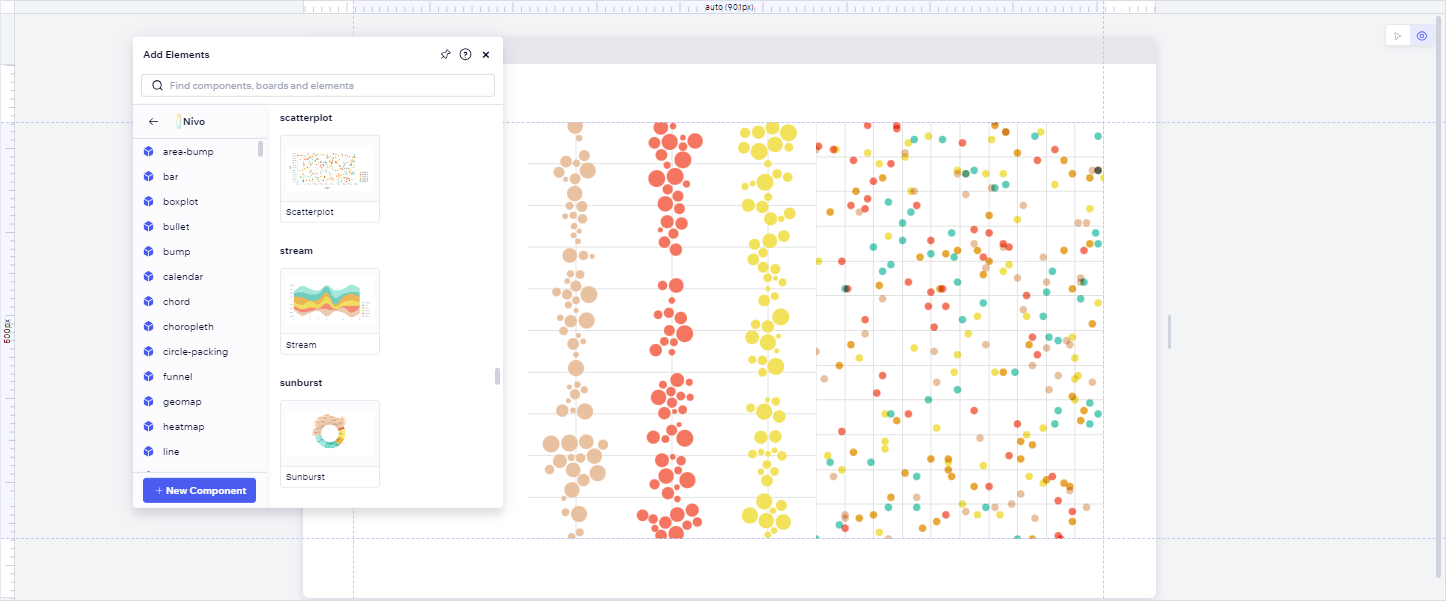
To make your charts more visually appealing, you can use our amazing selection of ready-made component variations from the Nivo component library. These components are fully adaptable and interactive, and they have all the required imports, hooks, states, JSX properties, styling, and more. You can easily preview them in the Add Elements panel before using them, and then click or drag and drop them into your boards.

To add our rich content library to the Add Elements panel, follow these steps:
- Start a new project in Codux and add the Nivo library.
- Install the Nivo library's dependencies.
- Install the Codux rich content npm package (
@codux-boards/react-nivo). - Add the library name to
codux.config.json(addPanel/assetskey).
1. Start a new project in Codux
When you start a new project in Codux, you'll be asked which external component libraries you want to add to your project.

Choose Nivo to include the ready-made components from this library.
2. Install the Nivo library's dependencies
To use this component library, you have to install the
@nivo/core package along with each of the scoped @nivo packages used in this library. The command looks like this:1npm install @nivo/core @nivo/bar @nivo/boxplot @nivo/bullet @nivo/bump @nivo/calendar @nivo/chord @nivo/circle-packing @nivo/funnel @nivo/geo @nivo/heatmap @nivo/line @nivo/marimekko @nivo/network @nivo/parallel-coordinates @nivo/pie @nivo/radar @nivo/radial-bar @nivo/sankey @nivo/scatterplot @nivo/stream @nivo/sunburst @nivo/swarmplot @nivo/treemap @nivo/voronoi @nivo/waffle --save
If your project uses yarn, you'd use the equivalent
yarn add command to install these packages.Refer here for their official documentation.
3. Install the rich content npm package
Install the Codux Nivo rich content npm package to see the library's components in their ready-for-use states in the Add Elements panel:
1npm i -D @codux-boards/react-nivo
If your project uses yarn, use the equivalent command instead.
4. Add the library name to codux.config.json
Add the rich content library installed in the step above to your project's
codux.config.json file through the addPanel/assets key like this:1 2 3 4 5 6 7 8// codux.config.json { … "addPanel": { "assets": ["@codux-boards/react-nivo"] }, …
And you're ready to use the Nivo rich content library in Codux!
Was this article helpful?